In the first two parts of the blog series you’ve learned how you can create an inventory synchronizing Ansible Tower with CloudForms, create a Job Template in Ansible Tower and auto generate a service catalog item in CloudForms from the Job Template under the configuration management tab. You’ve also learned how you can create a new catalog and add the catalog item to it. Part 3 in the blog series is going to show you how you can create a custom button under the VM instances tab.
Step 1 Click on Automate

Customization
![]()
Buttons
![]()
Step 2 Select VM and Instances
![]()
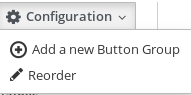
Configuration -> Add new button Group
and add the following values

click add on the bottom right
![]()
Step 3 Scroll to your new button group and select it.
![]()
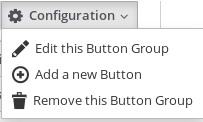
Go to Configuration Add new Button tab
and enter the following values
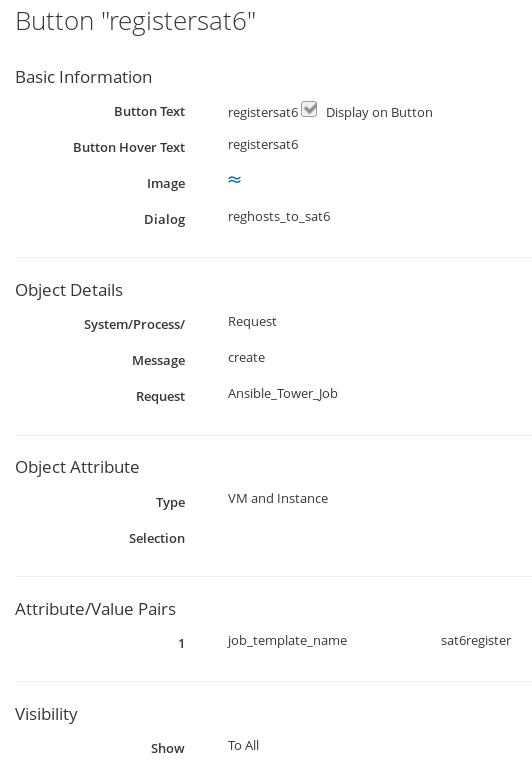
Once done press add on the bottom right and your done.
![]()
Step 4 I will now show you where you can find the button. Go to Compute

Infrastructure
![]()
Virtual Machines
![]()
Step 5 Select any of your VM instances

Step 6 In the menu bar you will see your button group AnsibleTowerJob and your button registersat6
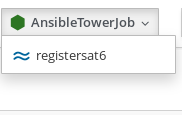
Press the registersat6 button which will load the sat6register service dialog.
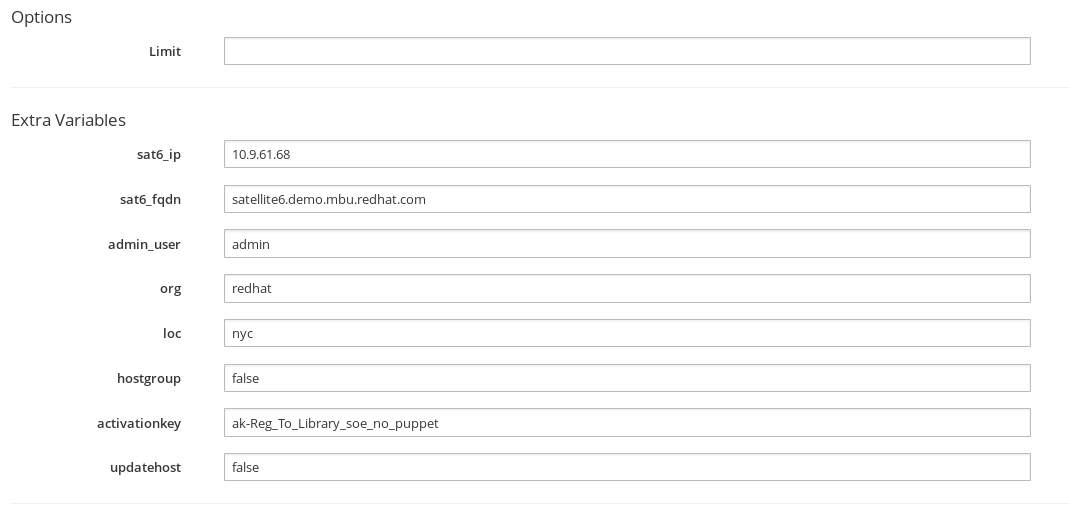
In part 2 we create a service dialog which can be ordered from the self service ui. There is one big difference between both dialogs. If you submit the dialog from a button, the Limit (‘hostname’) of the select host is automatically passed as a variable to the CloudForms automate engine. Therefore the limit can be left empty while ordering from a button. This is not the case when ordering from a self service dialog.