
This howto is going to walk you trough an installation of hosted engine on rhel7 for redhat virtualization 3.5.
Important, before you start make sure you have the following already setup (3 Hosts with these components):
Network: Your hostname (hypervisor and hosted engine) must have a dns name which resolve!
Storage: Have an nfs or iscsi storage ready ( i will use an nfs share on my asustor box)
Software: A rhel 6.5 iso as 6.6 did not work for me.
1. Subscribe to the redhat repos:
# subscription-manager repos --disable=*

# subscription-manager repos --enable=rhel-7-server-rpms

# subscription-manager repos --enable=rhel-7-server-supplementary-rpms

# subscription-manager repos --enable=jb-eap-6-for-rhel-7-server-rpms

# subscription-manager repos --enable=rhel-7-server-rhevh-rpms

# subscription-manager repos --enable=rhel-7-server-rhevh-rpms

# subscription-manager repos --enable=rhel-7-server-rhev-mgmt-agent-rpms

# subscription-manager repos --enable=rhel-7-server-optional-rpms
2. Disable NetworkManager, firewalld and enable iptables
# systemctl disable NetworkManager && systemctl stop NetworkManager

# systemctl stop firewalld && systemctl mask firewalld

# yum install iptables-services

# systemctl enable iptables
3. Add the following firewall rules in /etc/sysconfig/iptables and restart it.
*filter

:INPUT ACCEPT [0:0]

:FORWARD ACCEPT [0:0]

:OUTPUT ACCEPT [0:0]

-A INPUT -m state --state ESTABLISHED,RELATED -j ACCEPT

-A INPUT -i lo -j ACCEPT

# ssh

-A INPUT -p tcp --dport 22 -j ACCEPT

# snmp

-A INPUT -p udp --dport 161 -j ACCEPT

# consoles

-A INPUT -p tcp -m multiport --dports 5900:6923 -j ACCEPT

# vdsm

-A INPUT -p tcp --dport 54321 -j ACCEPT

# libvirt tls

-A INPUT -p tcp --dport 16514 -j ACCEPT

# vm migration

-A INPUT -p tcp -m multiport --dports 49152:49216 -j ACCEPT

# portmapper

-A INPUT -p udp -m udp --dport 111 -j ACCEPT

-A INPUT -p tcp -m tcp --dport 38465 -j ACCEPT

-A INPUT -p tcp -m tcp --dport 38466 -j ACCEPT

# nfs

-A INPUT -p tcp -m tcp --dport 111 -j ACCEPT

-A INPUT -p tcp -m tcp --dport 38467 -j ACCEPT

-A INPUT -p tcp -m tcp --dport 2049 -j ACCEPT

# status

-A INPUT -p tcp -m tcp --dport 39543 -j ACCEPT

-A INPUT -p tcp -m tcp --dport 55863 -j ACCEPT

# nlockmgr

-A INPUT -p tcp -m tcp --dport 38468 -j ACCEPT

-A INPUT -p udp -m udp --dport 963 -j ACCEPT

-A INPUT -p tcp -m tcp --dport 965 -j ACCEPT

# Reject any other input traffic

-A INPUT -j REJECT --reject-with icmp-host-prohibited

-A FORWARD -m physdev ! --physdev-is-bridged -j REJECT --reject-with icmp-host-prohibited

COMMIT
Then run
# service iptables restart
4. Lets go ahead and install the needed packages for hosted engine
# yum install ovirt-hosted-engine-setup screen nfs-utils system-storage-manager
5. Launch screen
# screen
6. Copy the rhel-server-6.5-x86_64-dvd.iso to your hosted engine server. I copied it into tmp. Do NOT mount the 6.6 image. The setup script will do that for you! Make sure that the image is world readable as vdsm needs to read it.
7. Now we can start with the hosted engine setup
# hosted-engine --deploy
8. Once you answered all the questions you will see something similar to this
--== CONFIGURATION PREVIEW ==--

          Bridge interface                   : enp2s3

          Engine FQDN                        : hrhevm.local.domb.com

          Bridge name                        : rhevm

          SSH daemon port                    : 22

          Gateway address                    : 192.168.1.1

          Host name for web application      : hrhevm1

          Host ID                            : 1

          Image alias                        : hrhevm_engine

          Image size GB                      : 25

          Storage connection                 : 192.168.1.3:/volume1/rhevdata

          Console type                       : vnc

          Memory size MB                     : 4096

          MAC address                        : 00:16:3e:2b:4d:14

          Boot type                          : cdrom

          Number of CPUs                     : 2

          ISO image (for cdrom boot)         : /tmp/rhel-server-6.5-x86_64-dvd.iso

          CPU Type                           : model_Opteron_G3
Please confirm installation settings (Yes, No)[Yes]:
9. If everything went well you you will see the following screen.
          You can now connect to the VM with the following command:

                /bin/remote-viewer vnc://localhost:5900

          Use temporary password "2618VYiP" to connect to vnc console.

          Please note that in order to use remote-viewer you need to be able to run graphical applications.

          This means that if you are using ssh you have to supply the -Y flag (enables trusted X11 forwarding).

          Otherwise you can run the command from a terminal in your preferred desktop environment.

          If you cannot run graphical applications you can connect to the graphic console from another host or connect to the console using the following command:

          virsh -c qemu+tls://Test/system console HostedEngine

          If you need to reboot the VM you will need to start it manually using the command:

          hosted-engine --vm-start

          You can then set a temporary password using the command:

          hosted-engine --add-console-password

          The VM has been started.  Install the OS and shut down or reboot it.  To continue please make a selection:
(1) Continue setup - VM installation is complete
(2) Reboot the VM and restart installation
(3) Abort setup
(4) Destroy VM and abort setup
Do Not press 1 yet. Launch your favorite vnc client and connect to
/bin/remote-viewer vnc://yourrhel7server:5900. Follow the installer to complete the rhel 6.5 installation. Once your VM shuts down press 1.
(1, 2, 3, 4)[1]:

          Waiting for VM to shut down...

[ INFO  ] Creating VM
10.Ssh to your vm after it rebooted and register your system to rhn with the following channels.
# subscription-manager repos --enable=rhel-6-server-rpms

# subscription-manager repos --enable=rhel-6-server-supplementary-rpms

# subscription-manager repos --enable=rhel-6-server-rhevm-3.5-rpms

# subscription-manager repos --enable=jb-eap-6-for-rhel-6-server-rpms

# subscription-manager repos --enable=rhel-6-server-rhevh-rpms
11. Update your rhel6.5 host
# yum -y update
12. Now its time to install rhevm
# yum -y install rhevm
13. After rhevm is installed you can run engine setup. Make sure that the password you used for your hypervisor hosted-engine –deploy is the same as engine-setup. If you do not have the same passwords your hypervisor will not get added to the rhevm hosted engine vm and you’ll end up with
[ ERROR ] Cannot connect to engine APIs on hrhevm.local.domb.com:  JBWEB000065: HTTP Status 401

[ ERROR ] Failed to execute stage 'Closing up': Cannot connect to engine APIs on hrhevm.local.domb.com
# engine-setup
14. After you entered all the information you’ll see the following screen
--== CONFIGURATION PREVIEW ==--
Application mode : both
Firewall manager : iptables
Update Firewall : True
Host FQDN : hrhevm.local.domb.com
Engine database name : engine
Engine database secured connection : False
Engine database host : localhost
Engine database user name : engine
Engine database host name validation : False
Engine database port : 5432
Engine installation : True
NFS setup : True
PKI organization : local.domb.com
NFS mount point : /var/lib/exports/iso
NFS export ACL : hrhevm.local.domb.com(rw)
Configure local Engine database : True
Set application as default page : True
Configure Apache SSL : True
Configure WebSocket Proxy : True
Engine Host FQDN : hrhevm.local.domb.com
Please confirm installation settings (OK, Cancel) [OK]:
15. Once done with the setup run it again to get the latest 3.5
[root@hrhevm ~]# engine-setup

[ INFO  ] Stage: Initializing

[ INFO  ] Stage: Environment setup

          Configuration files: ['/etc/ovirt-engine-setup.conf.d/10-packaging-wsp.conf', '/etc/ovirt-engine-setup.conf.d/10-packaging.conf', '/etc/ovirt-engine-setup.conf.d/20-setup-ovirt-post.conf']

          Log file: /var/log/ovirt-engine/setup/ovirt-engine-setup-20150217210109-kn2sm9.log

          Version: otopi-1.3.0 (otopi-1.3.0-2.el6ev)

[ INFO  ] Stage: Environment packages setup

[ INFO  ] Stage: Programs detection

[ INFO  ] Stage: Environment setup

[ INFO  ] Stage: Environment customization
Welcome to the RHEV 3.5 setup/upgrade.
Please read the RHEV 3.5 install guide
https://access.redhat.com/site/documentation/en-US/Red_Hat_Enterprise_Virtualization/3.5/html/Installation_Guide/index.html.
Please refer to the RHEV Upgrade Helper application
https://access.redhat.com/labs/rhevupgradehelper/ which will guide you in the upgrading process.
Would you like to proceed? (Yes, No) [Yes]:
--== PRODUCT OPTIONS ==--
16. Finally go back to the window on your actual hypervisor and press 1
          (1, 2, 3, 4)[1]:

[ INFO  ] Engine replied: DB Up!Welcome to Health Status!

          Enter the name of the cluster to which you want to add the host (Default) [Default]:

[ INFO  ] Waiting for the host to become operational in the engine. This may take several minutes...

[ INFO  ] Still waiting for VDSM host to become operational...

[ INFO  ] The VDSM Host is now operational

          Please shutdown the VM allowing the system to launch it as a monitored service.

          The system will wait until the VM is down.
17. Login to your rhevm instance via http://yourhostrhevm
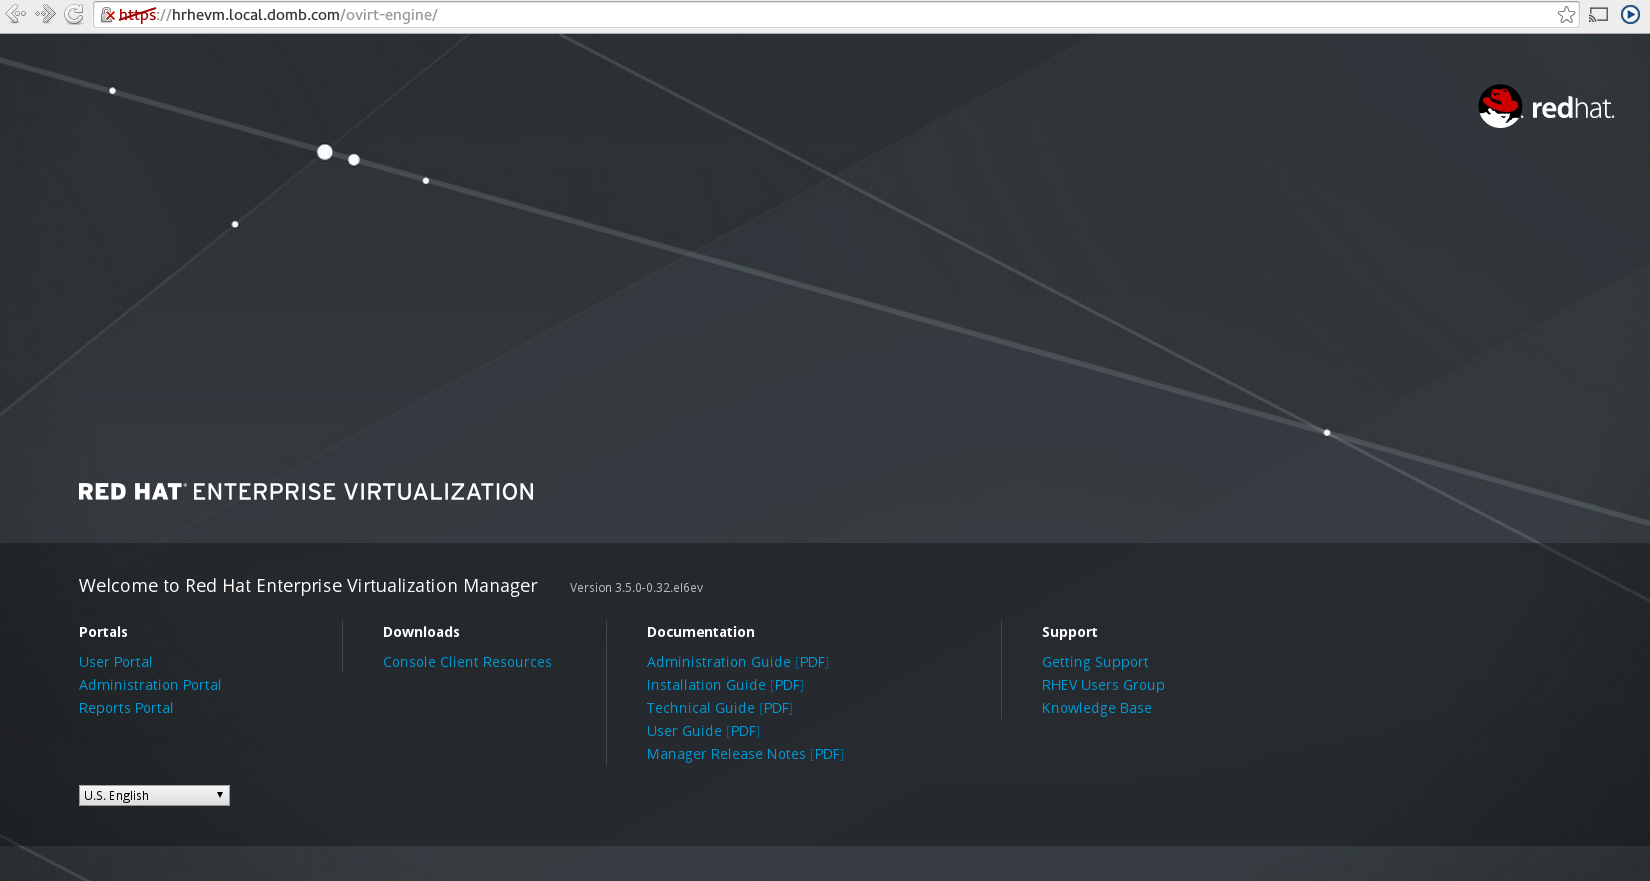
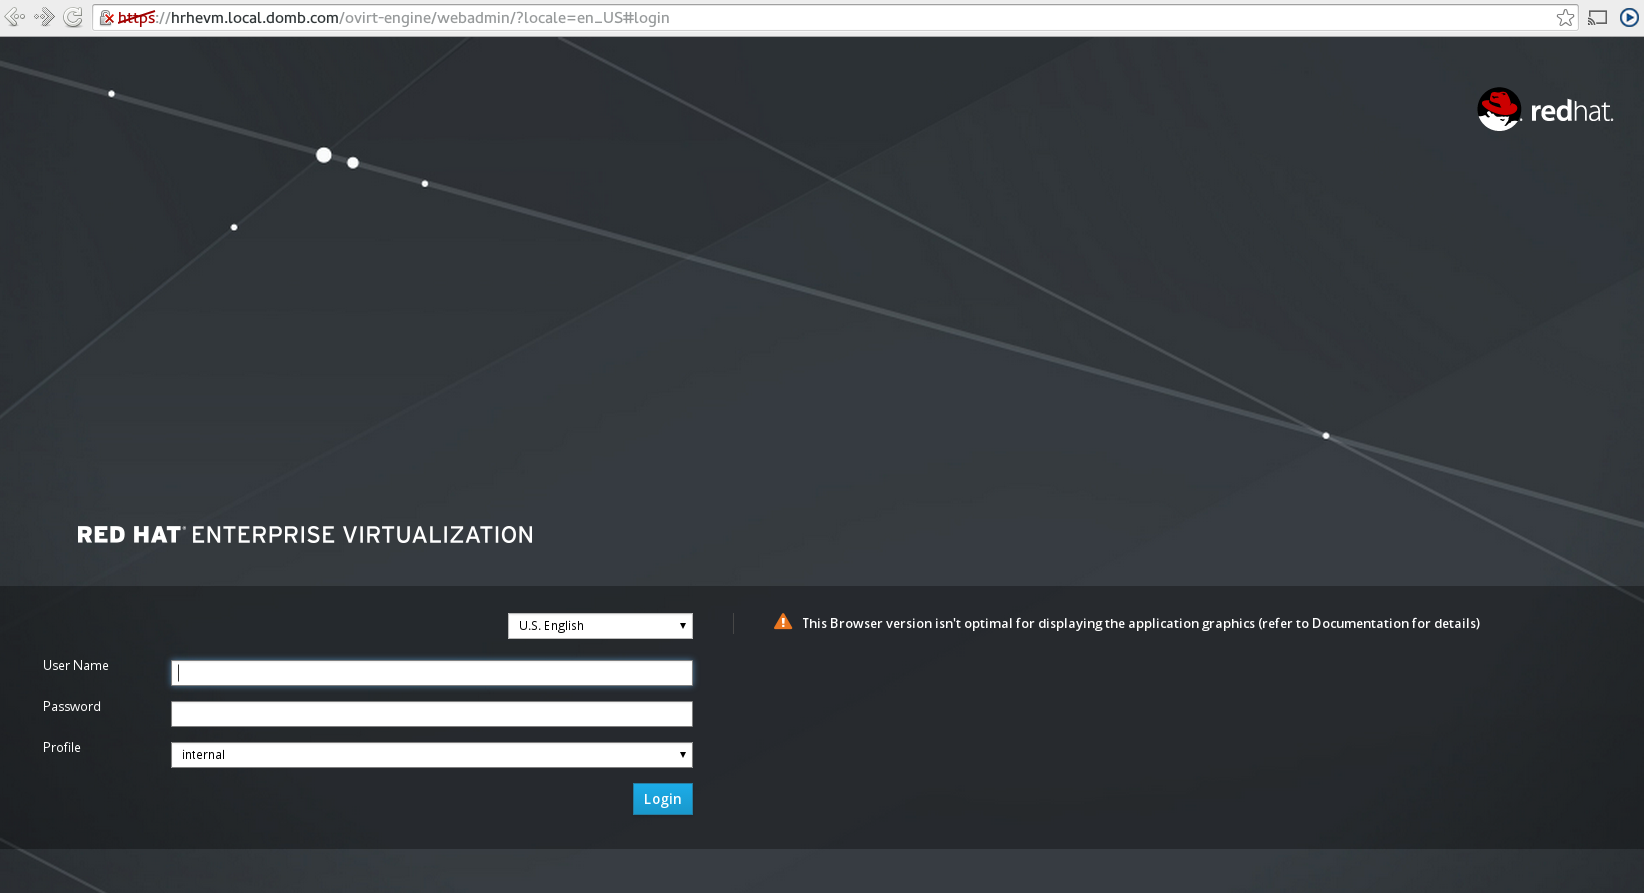
18. Click on Administrative portal and login.
19. You should now see your hypervisor in the hosts tab and the hosted engine in the virtual machines tab.
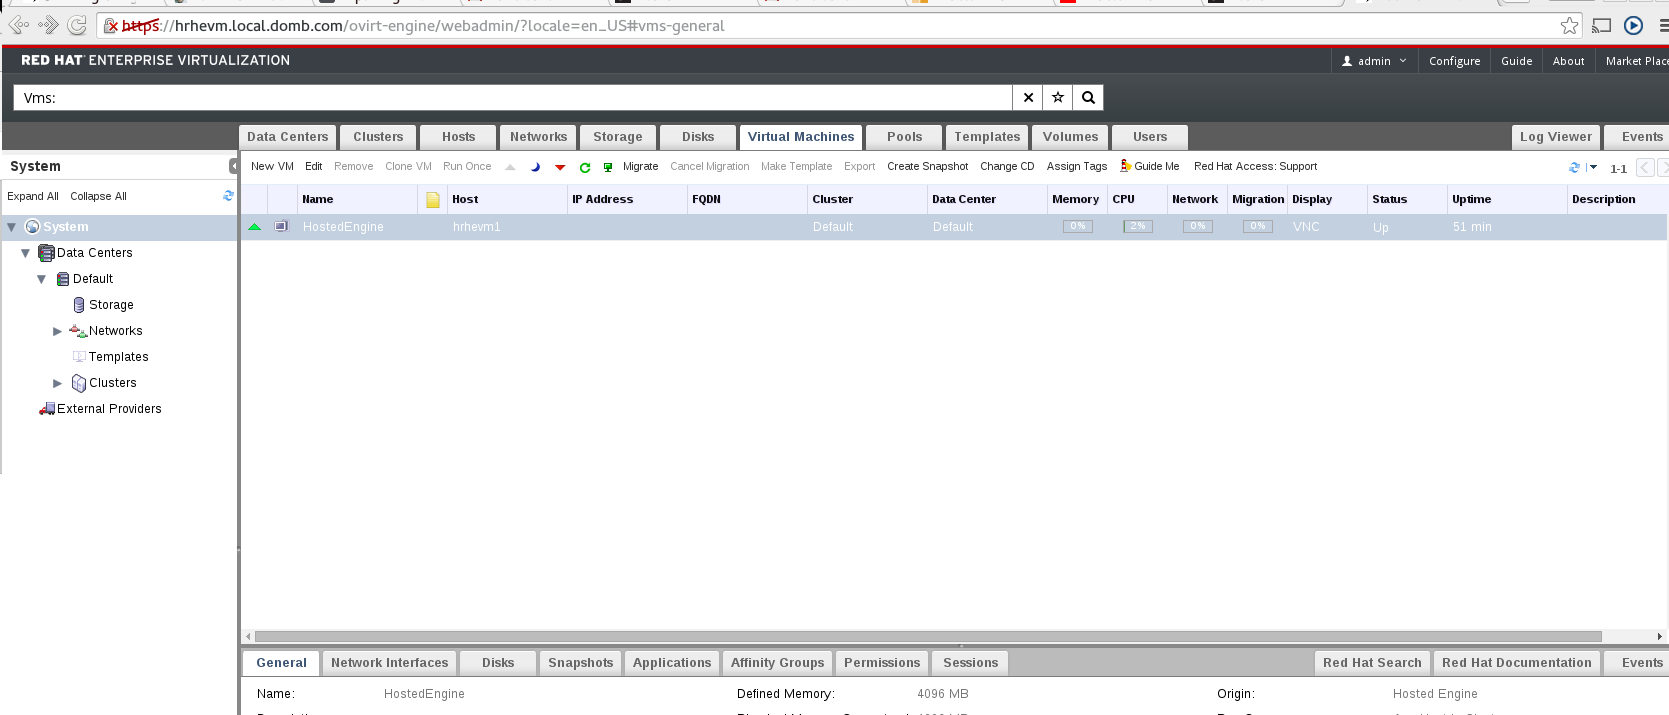
20. Shutdown the rhevm vm so it will get added as a monitored service
[ INFO  ] Enabling and starting HA services

          Hosted Engine successfully set up

[ INFO  ] Stage: Clean up

[ INFO  ] Generating answer file '/var/lib/ovirt-hosted-engine-setup/answers/answers-20150218010918.conf'

[ INFO  ] Generating answer file '/etc/ovirt-hosted-engine/answers.conf'

[ INFO  ] Stage: Pre-termination

[ INFO  ] Stage: Termination
20. Repeat these steps on the next 2 hosts 🙂
Hint: If you are running hosted engine in a non clustered environment it might be possible that your hosted engine does not come up after a reboot. You can start it manually by running the following commands on the hypervisor:
# hosted-engine --set-maintenance --mode=global

# hosted-engine --vm-start