I’ve been waiting for this feature since quite a while and its finally here and working. CloudForms 4.2 and OpenShift 3.4 have the ability combined of scanning docker images and define if the images are compliant or not. If the image is not compliant CloudForms annotates the image in OpenShift with images.openshift.io/deny-execution: true and if OpenShift is configured correctly it will deny execution the next time someone tries to run the container image.
Having this feature is really awesome as you can prevent someone from building a vulnerable image and deploying it multiple times. Also CloudForms can either have a policy set on the provider which auto scans newly discovered pods/images, schedule image registry scans or your check images on demand.
So here are the steps to get this working (a detailed description on what an image policy is can be found here: https://docs.openshift.com/container-platform/3.4/admin_guide/image_policy.html)
1. First login to the OpenShift Master and edit /etc/origin/master/master-config.yaml Add the following lines above apiLevels
admissionConfig:
  pluginConfig:
    openshift.io/ImagePolicy:
      configuration:
        kind: ImagePolicyConfig
        apiVersion: v1
        resolveImages: AttemptRewrite
        executionRules:
        - name: execution-denied
          onResources:
          - resource: pods
          reject: true
          matchImageAnnotations:
          - key: images.openshift.io/deny-execution
            value: "true"
          skipOnResolutionFailure: true
        - name: allow-images-from-internal-registry
          onResources:
          - resource: pods
          - resource: builds
          matchIntegratedRegistry: false
        - name: allow-images-from-dockerhub
          onResources:
          - resource: pods
          - resource: builds
          matchRegistries:
          - docker.io
2. Restart the OpenShift masters so that the policy will take effect.
[ldomb@osemaster ~]$ sudo systemctl restart atomic-openshift-master.service
[ldomb@osemaster ~]$ sudo systemctl restart atomic-openshift-node.service
3. Deploy a vulnerable image in OpenShift. In my case I named it testme.
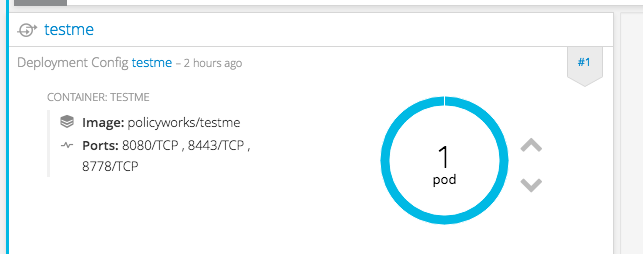
4. Go to CloudForms and run a Smart State Analysis. Login to CloudForms and go to Compute -> Containers -> Container Images and choose the image you’ve just deployed via OpenShift.

5. Click on the image. Then on the top left press “Perform Smart StateAnalysis”

6. If your admin in OpenShift you can go to the management-infra project and see that a new pod manageiq-img-scan is started (oc get pods). The image will pull your testme image down and check it for vulnerabilities. Once scanned (remember we did not add any policies yet) you will see the following:

7. Go to policy -> manage policy  and check the box for OpenScap Profile
  Once checked go back to the policies and run “Check Compliance of last known configuration.
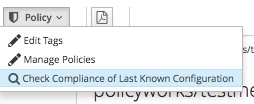
8. As I used a image which has known vulnerabilities the compliance status will show Non-Compliant.
 What happens in the background as well is that CloudForms tells OpenShift to annotate the image with images.openshift.io/deny-execution: true
9. Go to your image id and copy your sha
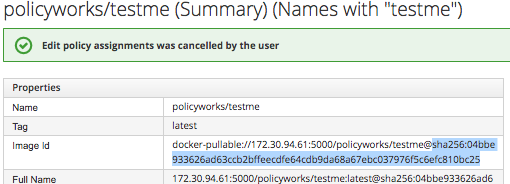
10. Now in OpenShift check if the annotation exist. You can either check in the UI in OpenShift under image -> annotations or on the command line
[ldomb@osemaster ~]$ oc describe image sha256:04bbe933626ad63ccb2bffeecdfe64cdb9da68a67ebc037976f5c6efc810bc25
....
Annotations: images.openshift.io/deny-execution=true
openshift.io/image.managed=true
security.manageiq.org/failed-policy=openscap policy
....
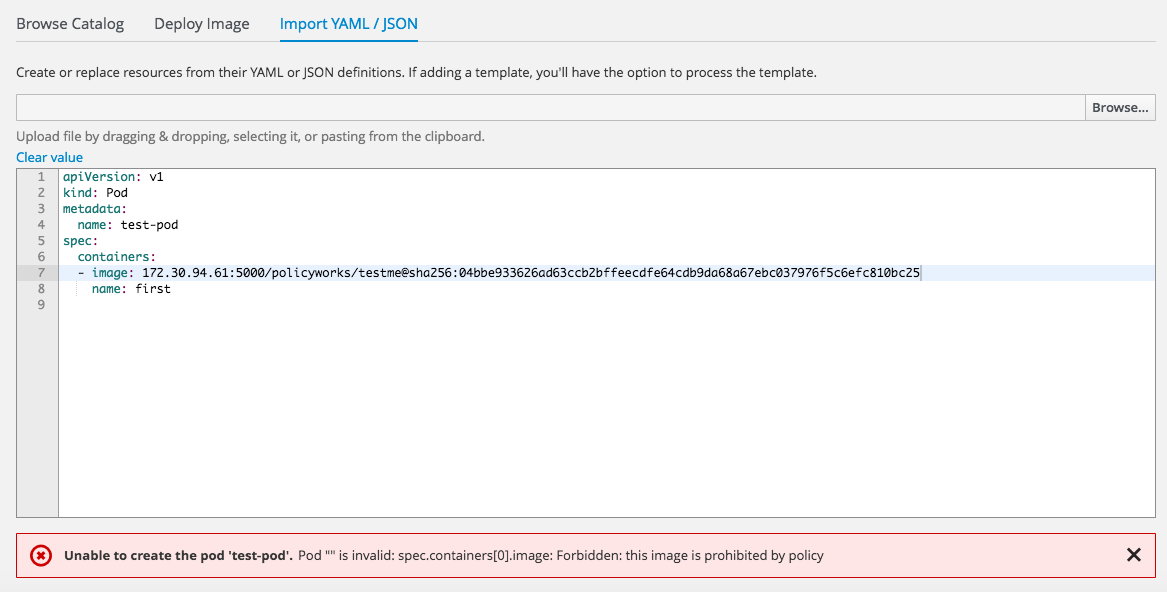
11. Lets see if the policy catches and build a new container based of the above. As you can see below OpenShift denies running the above image!
12. If you want to remove the restriction your can use
[ldomb@osemaster ~]$ oc annotate --overwrite image sha256:04bbe933626ad63ccb2bffeecdfe64cdb9da68a67ebc037976f5c6efc810bc25 images.openshift.io/deny-execution=false
Happy OpenShifting
