Cloudforms / ManageIQ has a very powerful automation engine. There is basically nothing you can’t do with it. You could even trigger an api call to make coffee during a provisioning run. But what if your provisioning fails?
Every step which is executed by the cloudforms automation engine gets logged into /var/www/miq/vmdb/log/evm.log or /var/www/miq/vmdb/log/automation.log. As you can imagine the log is very verbose which in one way is awesome (you have all the data) but in the another way all this data makes it difficult to troubleshoot.
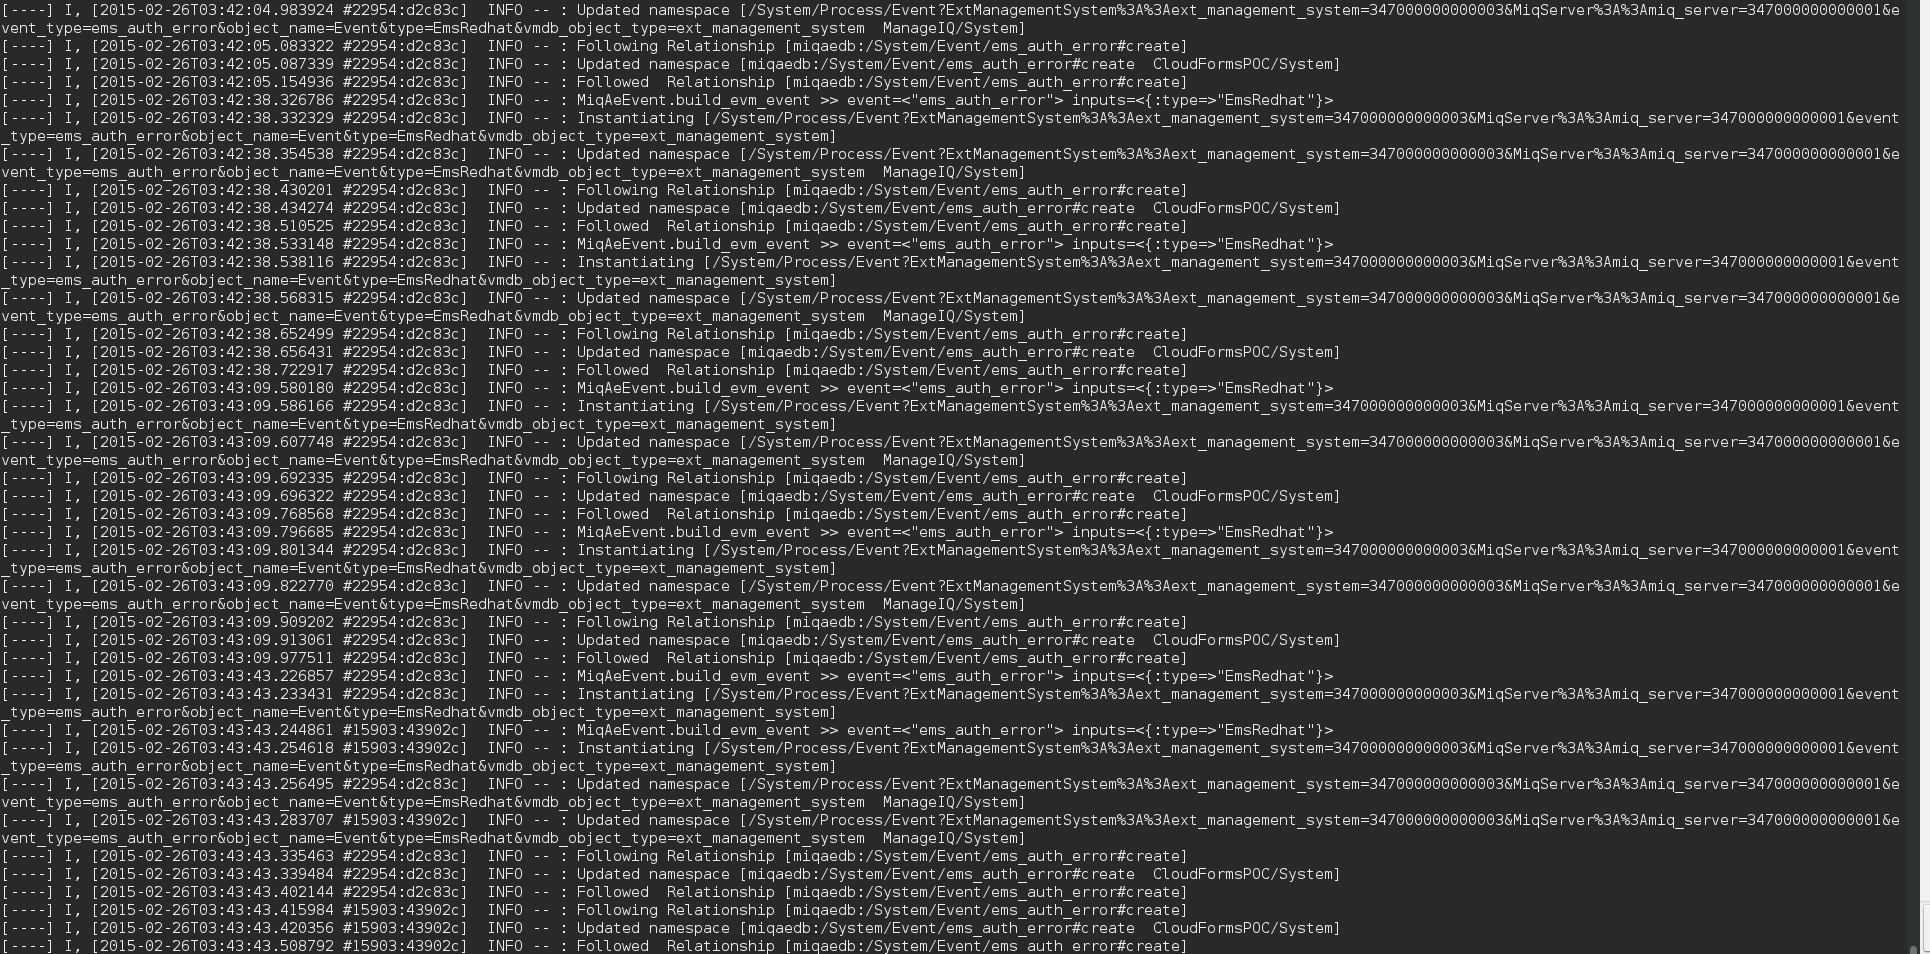
If you do not have a centralized logging in place today you would have ssh to cloudforms and tail the logs to troubleshoot a failed run.
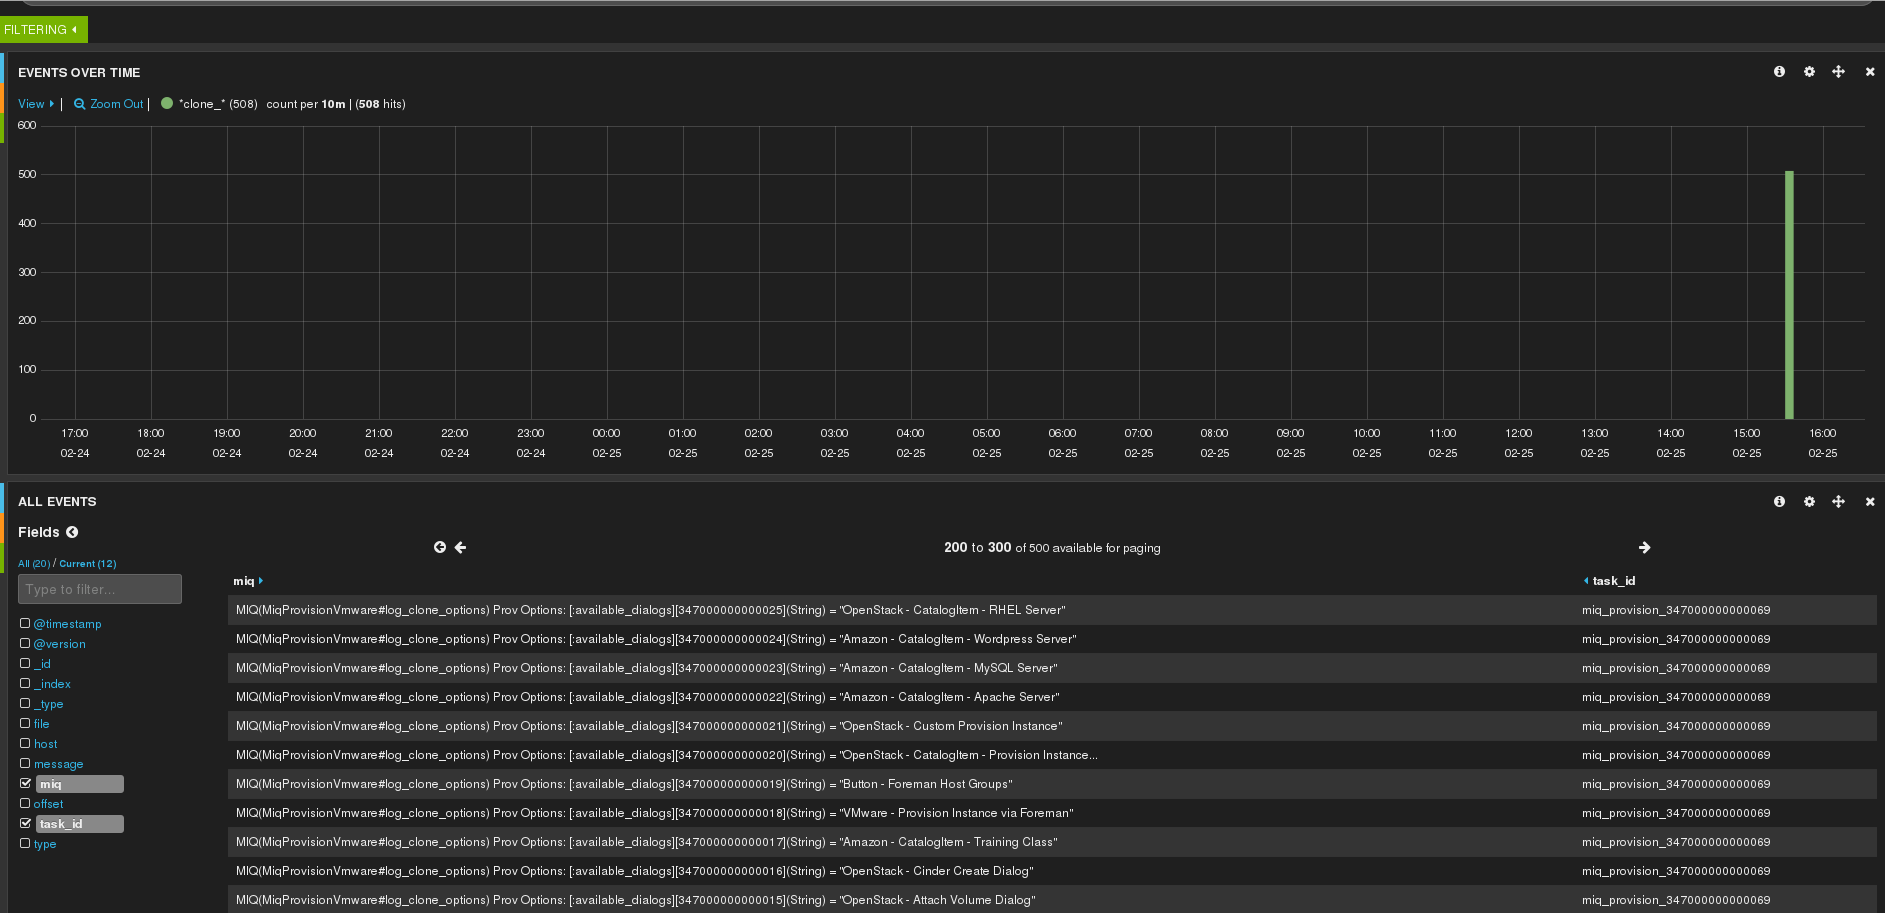
This post will help you build a logstash server on rhel7 with a log filter for the cloudforms evm and automation log. This will empower you to filter the logs based on taskid / Next Stage etc… which give you a complete history on what exactly happened during provisioning run. So for example you could go check the clone_options during provisioning which would look like this:
You can find all the code snippets as an install script here http://github.com/ldomb/elkformiqonrhel7
1. Add the hostname to /etc/hosts (this is important as the hostname needs to resolve)
echo -e "\n ## Adding entry to /etc/hosts\n"
cat >> /etc/hosts << EOF
192.168.1.58  elk.local.domb.com elk
EOF
2. Install a rhel7 server and register it to rhn. You will need the following repos:
rhel-7-server-rpms
rhel-7-server-rh-common-rpms
rhel-7-server-optional-beta-rpms (for golang to create a working ssl cert)
subscription-manager register
subscription-manager attach --pool=$POOL_ID
subscription-manager repos --disable=*
subscription-manager repos --enable=rhel-7-server-rpms --enable=rhel-7-server-rh-common-rpms --enable=rhel-7-server-optional-beta-rpms
3. Disable firewalld and ipv6
# systemctl stop firewalld
# systemctl disable firewalld

# cat >> /etc/sysctl.d/99-disableipv6.conf << EOF
net.ipv6.conf.all.disable_ipv6=1
EOF
sysctl -p /etc/sysctl.d/99-disableipv6.conf
4. Set Selinux to premissive mode
# sed -i s/SELINUX=enforcing/SELINUX=permissve/g /etc/selinux/config
# setenforce 0
5. Add the elastic search repo
# rpm --import http://packages.elasticsearch.org/GPG-KEY-elasticsearch
# cat > /etc/yum.repos.d/elasticsearch.repo << EOF
[elasticsearch-1.3]
name=Elasticsearch repository for 1.3.x packages
baseurl=http://packages.elasticsearch.org/elasticsearch/1.3/centos
gpgcheck=1
gpgkey=http://packages.elasticsearch.org/GPG-KEY-elasticsearch
enabled=1
EOF
6. Install elasticsearch, java and apache
# yum install -y elasticsearch java-1.7.0-openjdk httpd
7. Disable dynamic scripts for elasticsearch
# cat >> /etc/elasticsearch/elasticsearch.yml << EOF
### Custom config parameters
script.disable_dynamic: true
EOF
8. Configure Systemd to start elastic search on boot
# systemctl daemon-reload
# systemctl enable elasticsearch.service
# systemctl start elasticsearch.service
9. Now that we have elastic search running we can install kibana. Go download and unpack the kibana tarball and make sure to create a /var/www/kibana3/pub dir which we will serve as the directory for the client certs and scripts.
# wget -P /var/www/html/ https://download.elasticsearch.org/kibana/kibana/kibana-3.1.0.tar.gz
# tar -xzvf /var/www/html/kibana-3.1.0.tar.gz -C /var/www/html
# mv /var/www/html/kibana-3.1.0 /var/www/html/kibana3
# rm -f /var/www/html/kibana-3.1.0.tar.gz
# mkdir -p /var/www/html/kibana3/pub
10. Change the listen port for kibana in kibana-3.0.1/config.js from 9200 to 80 as we will proxy all traffic through port 80 in apache
# sed -i "s@elasticsearch: \"http://\"+window.location.hostname+\":9200\"@elasticsearch: \"http://\"+window.location.hostname+\":80\"@g" config.js
11. All the config for kibana is now done. Let-s create the apache config
ServerName elk.local.domb.com

DocumentRoot /var/www/html/kibana3

Allow from all
Options -Multiviews

LogLevel debug
ErrorLog /var/log/httpd/error_log
CustomLog /var/log/httpd/access_log combined

# Proxy for _aliases and .*/_search

ProxyPassMatch http://127.0.0.1:9200/$1
ProxyPassReverse http://127.0.0.1:9200/$1

# Proxy for kibana-int/{dashboard,temp} stuff (if you don't want auth on /, then you will want these to be protected)

ProxyPassMatch http://127.0.0.1:9200/$1$2
ProxyPassReverse http://127.0.0.1:9200/$1$2

AuthType Basic
AuthBasicProvider file
AuthName "Restricted"
AuthUserFile /etc/httpd/conf.d/kibana-htpasswd
Require valid-user
12. set a user name and password for the web interface
# htpasswd -c /etc/httpd/conf.d/kibana-htpasswd admin
13. Start apache and make sure it's started on boot
# systemctl enable httpd
# systemctl start httpd
14. Add the logstash repo
# cat > /etc/yum.repos.d/logstash.repo << EOF
[logstash-1.4]
name=logstash repository for 1.4.x packages
baseurl=http://packages.elasticsearch.org/logstash/1.4/centos
gpgcheck=1
gpgkey=http://packages.elasticsearch.org/GPG-KEY-elasticsearch
enabled=1
EOF
15. Install logstash
# yum install -y logstash
16. As we are going to use logstash-forwarder we want to have a secure connection. to make this happen and to not run into any ssl issues we need to install the golang package from the beta channel so that we can build the cert generator.
# yum install golang -y
# wget https://raw.githubusercontent.com/driskell/log-courier/develop/src/lc-tlscert/lc-tlscert.go
# go build lc-tlscert.go
17. Once you build the lc-tlscert you can execute it and answer all the questions to create an ssl cert.
# ./lc-tlscert
Specify the Common Name for the certificate. The common name
can be anything, but is usually set to the server's primary
DNS name. Even if you plan to connect via IP address you
should specify the DNS name here.

Common name: elk.local.domb.com

The next step is to add any additional DNS names and IP
addresses that clients may use to connect to the server. If
you plan to connect to the server via IP address and not DNS
then you must specify those IP addresses here.
When you are finished, just press enter.

DNS or IP address 1: 192.168.1.58
DNS or IP address 2:

How long should the certificate be valid for? A year (365
days) is usual but requires the certificate to be regenerated
within a year or the certificate will cease working.

Number of days: 1200
Common name: elk.local.domb.com
DNS SANs:
None
IP SANs:
192.168.1.58

The certificate can now be generated
Press any key to begin generating the self-signed certificate.

Successfully generated certificate
Certificate: selfsigned.crt
Private Key: selfsigned.key

Copy and paste the following into your Log Courier
configuration, adjusting paths as necessary:
"transport": "tls",
"ssl ca": "path/to/selfsigned.crt",

Copy and paste the following into your LogStash configuration,
adjusting paths as necessary:
ssl_certificate => "path/to/selfsigned.crt",
ssl_key => "path/to/selfsigned.key",
18. Create an ssl directory in /etc/logstash and copy the 2 keys into the newly created dir.
# mkdir -p /etc/logstash/ssl/
# mv /root/selfsigned.crt /etc/logstash/logstash-forwarder.crt; chmod 666 /etc/logstash/logstash-forwarder.crt
# mv /root/selfsigned.key /etc/logstash/logstash-forwarder.key; chmod 666 /etc/logstash/logstash-forwarder.key
19. Copy the created crt to the kibana3 pub folder
# cp /etc/logstash/logstash-forwarder.crt /var/www/kibana3/pub/
20. Next we need to create the input configuration for lumberjack. We will be listening on port 5000
# cat > /etc/logstash/conf.d/01-lumberjack-input.conf << EOF
input {
  lumberjack {
    port => 5000
    type => "logs"
    ssl_certificate => "/etc/logstash/ssl/logstash-forwarder.crt"
    ssl_key => "/etc/logstash/ssl/logstash-forwarder.key"
  }
}
EOF
21. Finally lets write the filter for the evm and automate.log. You will have a tag task_id and miq_msg
# cat > /etc/logstash/conf.d/11-miq.conf << EOF
filter {
  if [type] == "miqautomation" {
    grok {
      patterns_dir => "/opt/logstash/pattern"
      match => { "message" => "%{DATE}T%{TIME}%{SPACE}#%{WORD}:%{WORD}%{NOTSPACE}%{SPACE}%{RUBY_LOGLEVEL}%{SPACE}%{NOTSPACE}%{SPACE}%{NOTSPACE}%{SPACE}%{NOTSPACE}%{WORD:task_id}%{NOTSPACE}%{GREEDYDATA:miq_msg}" }
    }
  }
}
EOF
22. Last we need to tell logstash where to send its data too.
# cat > /etc/logstash/conf.d/30-lumberjack-output.conf << EOF
output {
  elasticsearch { host => localhost }
  stdout { codec => rubydebug }
}
EOF
23. Restart and enable logstash to start on boot
# chkconfig logstash on
#service logstash restart
24. We can now prepare the client configs. Cd to /var/www/html/kibana3/pub/ and download the following files
# cd /var/www/html/kibana3/pub
# wget http://download.elasticsearch.org/logstash-forwarder/packages/logstash-forwarder-0.3.1-1.x86_64.rpm
# wget http://logstashbook.com/code/4/logstash_forwarder_redhat_init
# wget http://logstashbook.com/code/4/logstash_forwarder_redhat_sysconfig
25. In the same directory add this script
# cat > /var/www/html/kibana3/pub/logstash-forwarder-installer.sh << EOF2
#!/bin/bash
wget -P /tmp/ --user=admin --password=$HT_PASS http://$LG_SERVER/pub/logstash-forwarder-0.3.1-1.x86_64.rpm
yum -y localinstall /tmp/logstash-forwarder-0.3.1-1.x86_64.rpm
rm -f /tmp/logstash-forwarder-0.3.1-1.x86_64.rpm
wget -O /etc/init.d/logstash-forwarder --user=$HT_PASS --password=yourpassword http://$LG_SERVER/pub/logstash_forwarder_redhat_init
chmod +x /etc/init.d/logstash-forwarder
wget -O /etc/sysconfig/logstash-forwarder --user=admin --password=$HT_PASS dhttp://$LG_SERVER/pub/logstash_forwarder_redhat_sysconfig
wget -P /etc/pki/tls/certs/ --user=admin --password=$HT_PASS http://$LG_SERVER/pub/logstash-forwarder.crt
mkdir -p /etc/logstash-forwarder
cat > /etc/logstash-forwarder/logstash-forwarder.conf << EOF
{
  "network": {
    "servers": [ "$LG_SERVER:5000" ],
    "timeout": 15,
    "ssl ca": "/etc/pki/tls/certs/logstash-forwarder.crt"
  },
  "files": [
    {
      "paths": [
        "/var/www/miq/vmdb/log/evm.log"
      ],
      "fields": { "type": "miqautomation" }
    }
   ]
}
EOF

chkconfig --add logstash-forwarder
service logstash-forwarder start
EOF2


chkconfig --add logstash-forwarder
service logstash-forwarder start
EOF2
26. Login to the cloudforms appliance, download and run the logstash-forwarder-installer.sh
# wget --user=admin --password=yourpassword http://elk.local.domb.com/pub/logstash-forwarder-installer.sh
# chmod +x logstash-forwarder-installer.sh
# ./logstash-forwarder-installer.sh
27. Start the logstash forwarder
# service logstash-forwarder start
28. You just finished the setup. Login to your elk server. You should already have data which you can work with on the logstash server.