
This post will show you how to add Ansible Tower as a provider in CloudForms, discover and create a catalog item out of a job template we’ve created and order the catalog item via self service portal.
If you followed part 1 you now have a fully functional Ansible Tower which we can add as a provider to Red Hat CloudForms.
Step 1 Login to CloudForms
Step 2 Go to Configuration -> Configuration Management

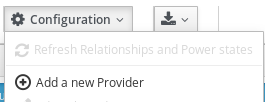
Step 3 Click on Configuration and add a new provider
Step 4 Fill in the following values (of course it needs to match your environment)
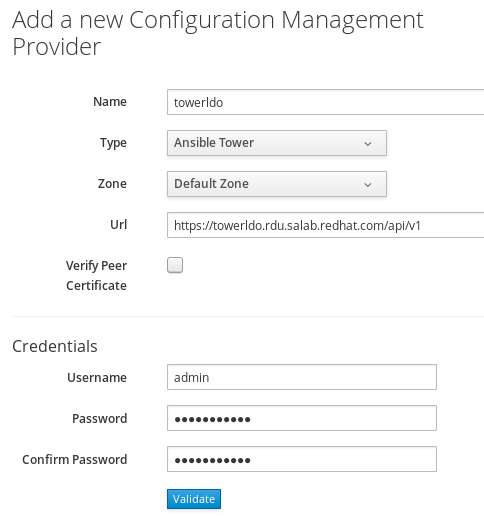
Now validate your credentials
![]()
and hit add
![]()
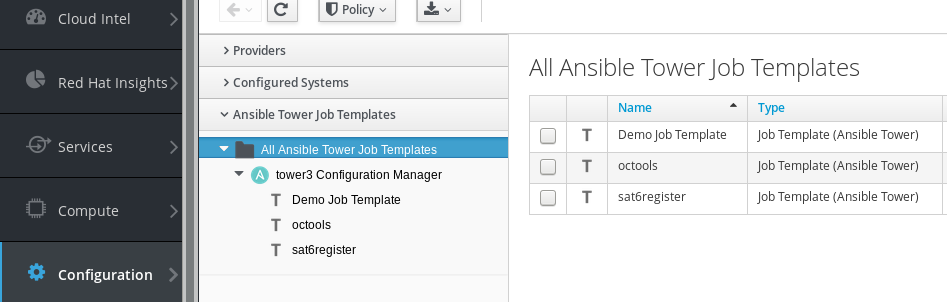
Step 5 After Adding the provider you will see that CloudForms will discover the created job template from Ansible Tower
Step 6 Click on the sat6register job template
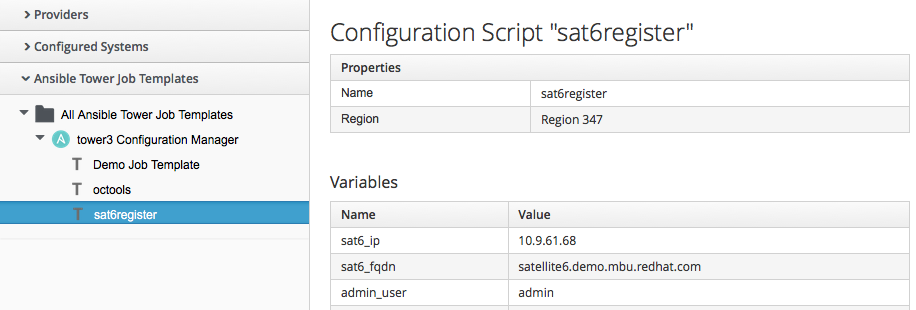
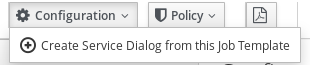
Then click configuration -> Create Service Dialog from this Job Template
In my case I did name the template reghosts_to_sat6
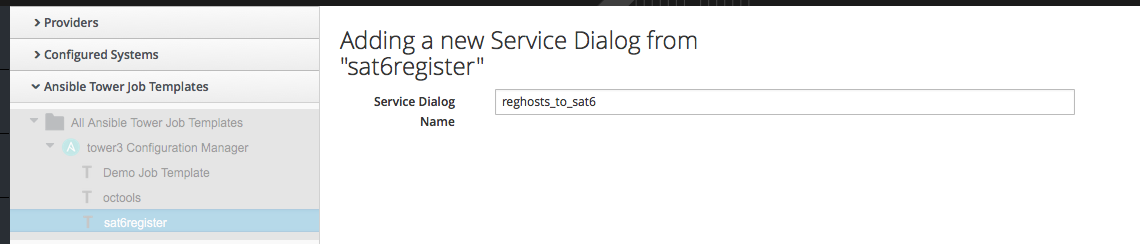
Click the save button on the bottom right
![]()
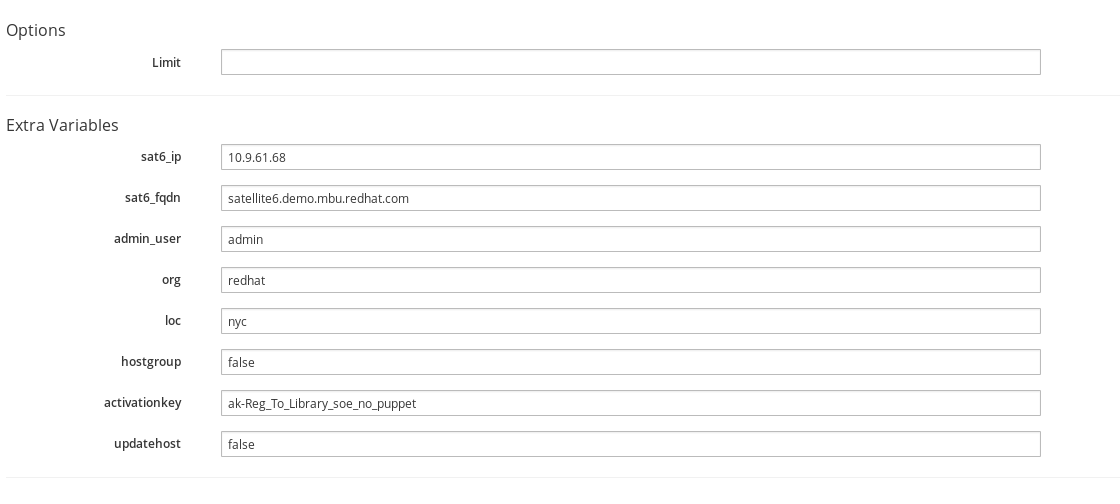
Step 7 Now its time to look at the actual service dialog which got created from the Ansible Job Template
Got to Automate -> Customization -> Service Dialogs and click on your service dialog. You will see a dialog which pretty much looks like this
If you want to be able to edit the fields you have to uncheck the readonly box for each field. Per default they are set readonly!
Step 8 Believe it or not but this is a fully functional service dialog which can be added to a catalog in CloudForms. Part 4 of the series which I will release next week will show you how you can make some of these fields dynamic.
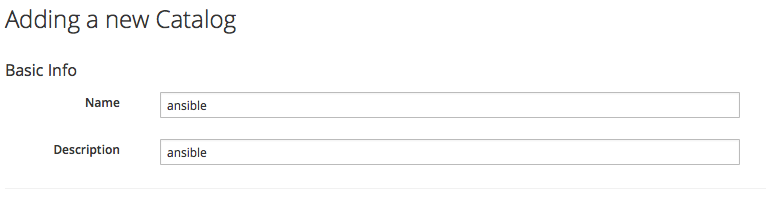
Step 9 Create a catalog. Go to Services -> Catalogs -> Catalogs and click on Configuration -> Create new catalog
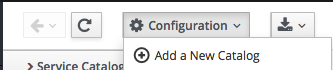
Name the catalog however you like and add it
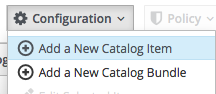
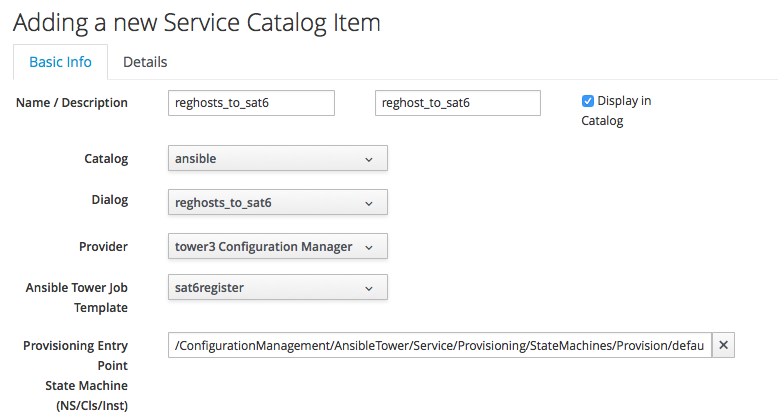
Step 10 Lets add the service dialog to the ansible catalog. Click on Services -> Catalogs -> Catalog items -> ansible -> Configuration -> Create new catalog item
As a catalog item type choose AnsibleTower
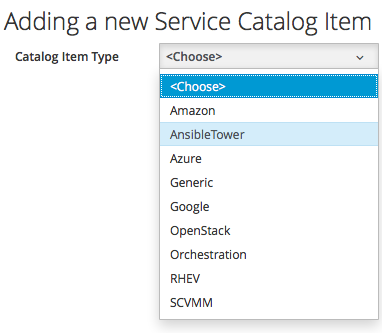
Add the following values to the catalog item and click add
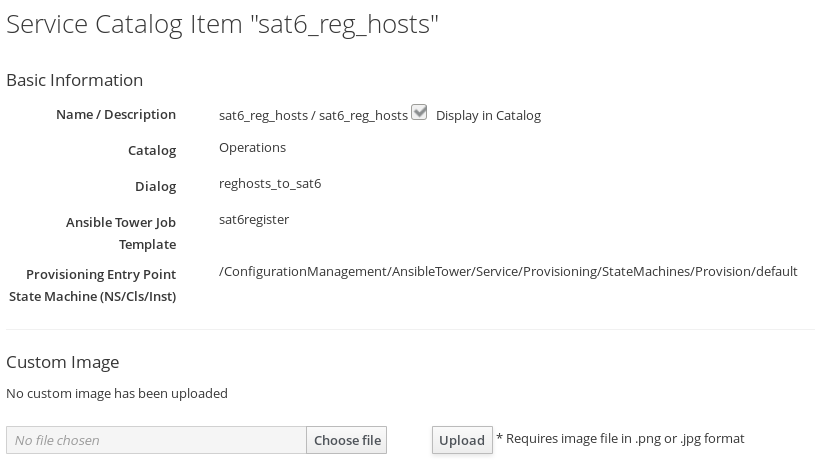
Step 11 Lets add some color to the catalog item and add an ansible logo. Click on the newly created catalog item and upload the ansible logo.
Step 12 login to the self service ui, you will find that under https://cloudformsfqdn/self_service
Once logged in click on Service Catalog and you will see your ansible catalog item

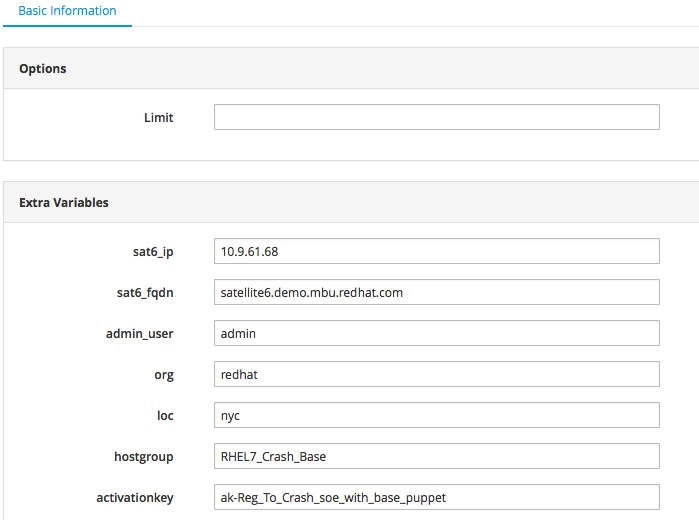
Step 13 Click on the ansible catalog item and fill out the values. The limit is the host or hosts separated by “:” which you would like to register to Satellite6. The limit cannot be left empty and the host must exist in the Ansible Tower inventory unless you chose the tower inventory to update on launch of a job.
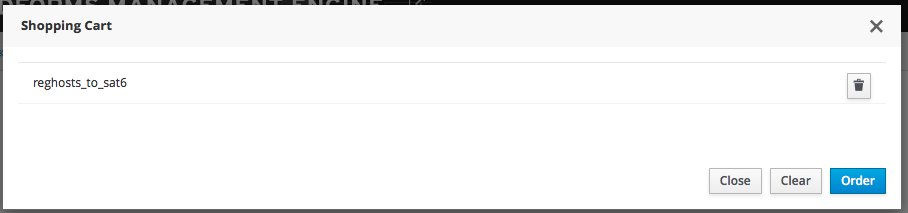
If you have entered all the correct values you can go ahead, add the item to the shopping cart
![]()
You can now click on the shopping cart on the top right and order the item
As this item was launched as a service you can follow the work flow under Services->Requests. Once the statemachine steps gets to launch_job you will see the job popping up in the Ansible Tower Console.

After few second, the job is executed and registers the host with the Red Hat Satellite 6 server. The completion of the job can be validated in CloudForms under Services -> Requests or in the Satellite 6 UI.
The next part (part 3) of the blog series which I will release next week will show you how you can add that dialog as a button under vm instances.